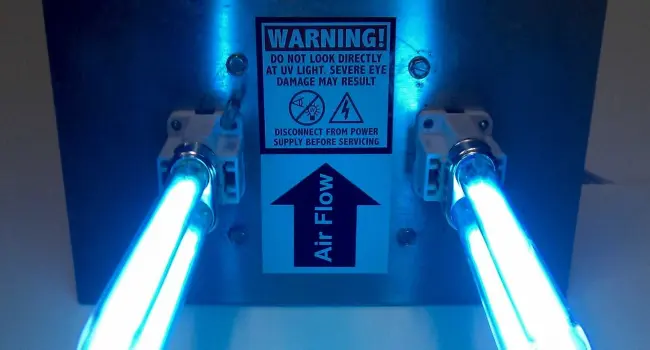
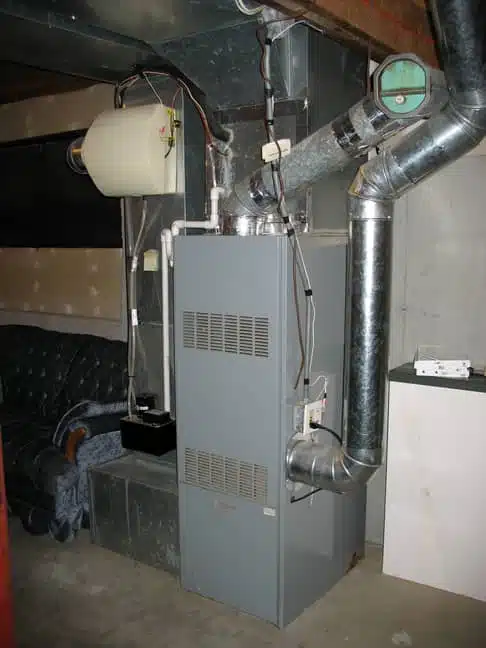
Imagine that you are having your HVAC system maintained by a professional and they notice mold and mildew in your air ducts. It might be time to upgrade your HVAC system so that you can easily remove mold and mildew, as well as allergens from your air. Installing some UV lights in your HVAC system is a great idea here. How to install UV light in HVAC? Like all projects, there is a step-by-step process to properly install a UV light in your HVAC.
Let’s take a look below at how you can accomplish this project.
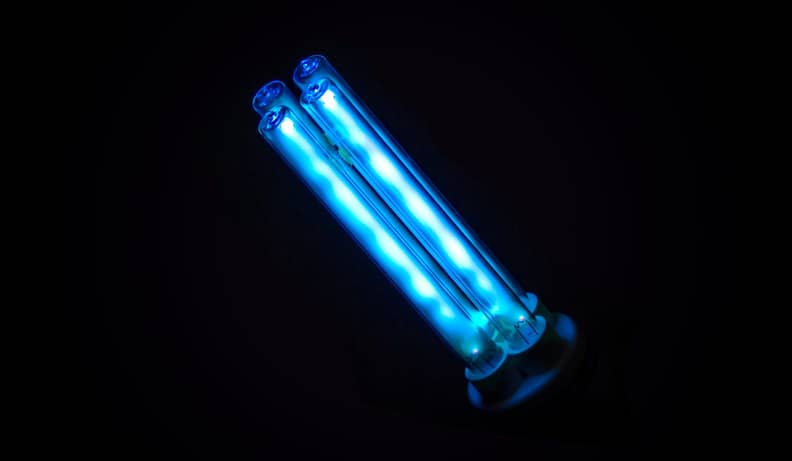
What Is A UV Light
Believe it or not, there are three main types of UV lights. Low-pressure,medium-pressure, and high-pressure are the three types. Let’s take a look below at the description of each type of UV light.
- Low-pressure mercury vapor lamp – the most common of the UV lights. Will produce a large amount of shortwave ultraviolet light (UV-C light).
- Medium-pressure mercury vapor lamp – produces a smaller amount of shortwave ultraviolet light.
- High-pressure mercury vapor lamp – produces the smallest amount of shortwave ultraviolet light.
UV light energy is measured in watts per wavelength range. Also measured in nanometers.
Why Would I Need One
Before you decide to install a UV light in your HVAC system, you might want to learn about why it’s a good thing. The most important benefit of a germicidal UV light installed in your air handler is purification. As your HVAC system is pushing air through your home, the UV light can eliminate allergens, germs, and other contaminants from the circulating air. Let’s take a look below at the main benefits of UV lights in your HVAC system.
- Indoor air quality is improved.
- It can reduce odors that are circulating through the home.
- They will eliminate mold and mildew from your HVAC system.
- Reduces your energy costs.
- Improves the efficiency of your HVAC unit and the airflow.
- Will kill viruses and bacteria.
- Helps reduce allergens that cause respiratory issues, asthma, or allergies.
How Do I Install The UV Light
When it comes to a project like UV lights in your HVAC unit, you will want to follow a step-by-step process. This allows you to complete the project in a timely manner. Let’s look at the steps to install UV lights in your HVAC.
- Pick a spot – look to install the UV light where it can have the most success killing mold and mildew.
- Drill the hole(s) – once you have selected the spot, drill a hole between 1-1/2″ and 2-1/2″ in diameter.
- Screw in the UV Light – using screws, attach the UV light to your air conditioner. Make sure not to tighten the screws too much as they could damage the plastic housing.
- Power it up – now it is time to provide a power source. You will most likely plug the UV light into a standard 120-volt outlet.
- Change and Clean the UV Bulb – every two years you will need to change the light bulb in your UV light. Make sure that you record when you change the bulbs for your maintenance records.
Other Recommended Maintenance
Now that you know about UV lights in HVAC, let’s take a look at a few other areas of recommended maintenance. One of those areas is homeowners insurance and HVAC coverage. HVACs are expensive to replace and homeowners insurance only covers certain things such as fire or water, vandalism or theft, severe weather, hail storms, or lightning. It’s always a good idea to check your policy so you know.
Another area is how long your HVAC will last. The average is 10-17 years and depends on if they were installed correctly, how they are maintained if chemicals are used in the home, or even if you have one in a coastal area. As with anything, maintenance is also key.
Lastly, if you are having a problem with cold air blowing through the HVAC, then you may have AC coils that need thawing. It is something you will probably have to do at least once in the life of the HVAC system. It is a several-step process you will need to follow to thaw the AC coils and maintenance is a good idea to try to keep it from happening.
When Do I Call A Professional
Installing a UV light in your HVAC system is something that you should hire a professional to do. Although it might seem like an easy project for a homeowner to complete, you are better off hiring a professional. Ensuring that your HVAC system is set up for success and properly maintained is key. If you aren’t sure who to call, reach out to your local home inspection team. They can inspect your HVAC system and recommend a reputable HVAC service technician.
Conclusion
Maintaining your HVAC system is one of the most important parts of owning a home. If you want to keep your HVAC system clean and free of bacteria, adding a UV light is a great idea. Also, expecting your HVAC system to last between 10 and 15 years can only happen if you maintain it. Call on your local home inspection team to ensure that your HVAC system is in good working order. Call on All Coast Home Inspections for an HVAC inspection and home inspection in Houston, TX.

